
- Contact
- Client List
- Shelf Signage
- Aisle Blades
- $ Prices
- Aisle Violators
- $ Prices
- Folding Shelf Talkers
- $ Prices
- Shelf Strips
- $ Prices
- Shelf Wobblers
- $ Prices
- Double-Sided Wobblers
- $ Prices
- Clings
- Cooler Clings
- $ Prices
- Low-Tack Vinyl Decals
Static Clings - $ Prices
- Window Clings
Double Sided - $ Prices
- Signs + Displays
- Case Cards
- $ Prices
- Easel Counter Cards
- $ Prices
- Bottle Neckers
- $ Prices
- Shelf Dividers
- $ Prices
- Hang Tags
- Custom Plastic Signs
- Decals + Labels
- Full-Color
Digital Decals - Lexan® Labels
Polycarbonate Overlays
Polyester Nameplates - Screen Printed Decals
- Domed 3D Decals
- Thermal Die Cut Decals
Plotter Cut Vinyl - Other Stuff
- Specialty Printing
- Info
- About Us
- Prepress Directions
- Printing | Finishing Services
- Artwork Upload
- Free Quote
Thermal Die Cut Vinyl Decals
Custom Printed Thermal and Plotter Die Cut Vinyl Decals
Whether you choose thermal die cut decals or plotter cut vinyl decals; custom screen printed or simply cut vinyl, these decals are a great form of advertising. They're so bright and low-profile, they look as if they were painted right onto the surface where they're adhered, and can be cut to your exact specifications. They can also be screen printed to give them even more of a custom look! We'll tell you the difference between thermal die cutting and plotter cutting; and when one is better than the other. Vinyl cut decals and letters are used everywhere, from car windows to product markings and POP hand-outs.
THERMAL DIE CUT VINYL DECALS
Thermal die cut decals (also called vinyl cut letters) are made of very strong, tear-resistent vinyl. The first thing you should know about them is that they aren't cut at all. They're basically melted into their shapes. Here's how it works:
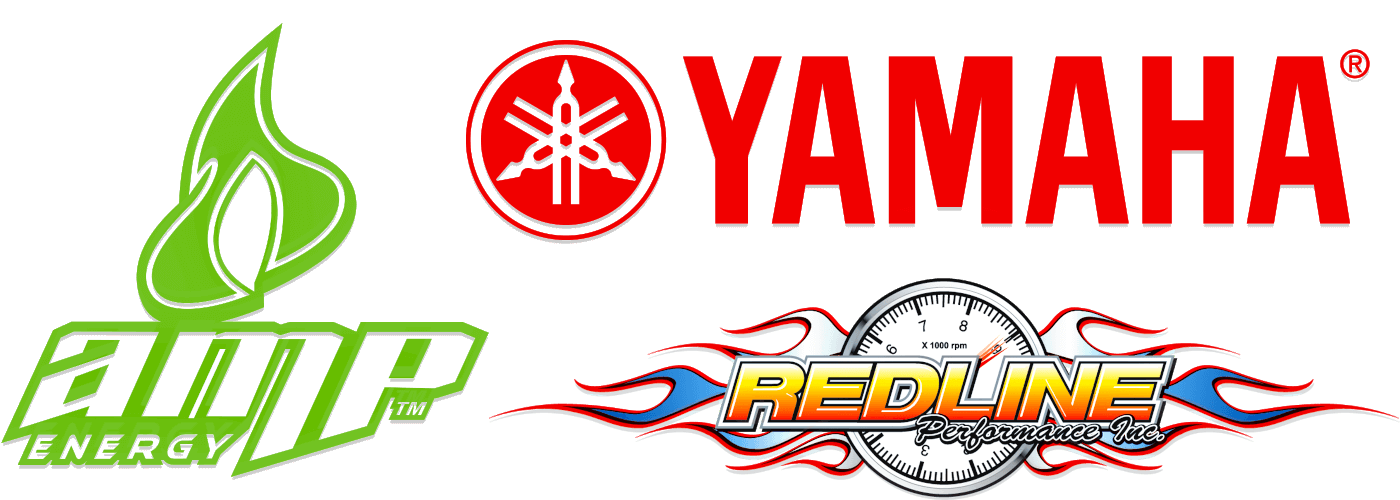
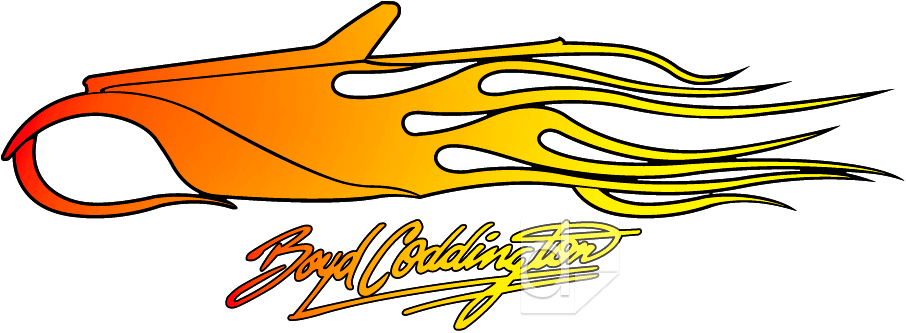
If the decal will be screen printed, this is step 1. You can either choose specific colors using the Pantone® Matching System (PMS), or have us match specific spot colors, or we can use 4-color process printing to achieve the look you want on your decal, as we did in this thermal die cut for Boyd Coddington®.
In the second step, a magnesium die is custom made from your artwork. This die is then heated to between 275° and 300° to melt through the vinyl at 500-1000 psi. Coming down from the top, it strikes the vinyl substrate material literally melting the edges of the vinyl to the shape of the die. Although this is from heat rather than blades, the result is a "kiss cut," where the decal is cut, but the paper backing remains intact. Because it stops at the release liner, it produces a perfect cut. Every time. What is left is the vinyl decal in the and a paper liner in the shape of your artwork.
In the third step, we weed out all the parts of the decal you don't want. That includes the centers of letters, outlines and areas of graphics where the background is to show through on the finished decal. In the decal below, we weeded out the insides of the letters that spell TapOut® as well as the "white" outline inside the orange outline.

In the final step application tape is laminated to the back of the finished decal. It keeps the entire decal together until the end-user removes it to install the decal (see "How to Apply Thermal Die Cut Decals" below). Regardless of which method you choose, thermal die cut or plotter cut, the layers involved are the same. The diagram below illustrates the process, including custom printing, vinyl substrate, application tape and release liner that go into making a thermal die cut decal.
PLOTTER CUT VINYL DECALS
Although similar in appearance to thermal die cut decals, plotter cut decals are both printed and cut differently. If your plotter cut decal will have custom printing, it will be digitally printed rather than screen printed. The cutting process is performed with a computer-assisted blade rather than a heated magnesium die.
A plotter cutter is fitted with a razor-sharp blade and that is connected to a computer that reproduces your graphic. It uses mechanical movements, dictated by the computer, to continuously cut the vinyl. Using a pressure control, the blade only presses down enough to cut through the vinyl, while leaving the paper backing intact.
WHERE TO USE THERMAL DIE CUT DECALS FOR THE MOST IMPACT
- Signs
- Posters
- Billboards
- Cars
- Trucks
- Store Windows
- Numbering
- Logos
- Company Advertising
- Graphic Designs
- Point-of-Purchase Displays
- Radio Station Call Letters
WHICH IS BEST FOR MY PROJECT: THERMAL DIE CUTTING OR PLOTTER CUTTING?
We'll give you the pros and cons, but if you're still not sure which would work best for you, just ask us. That's what we're here for.
THE BENEFITS OF THERMAL DIE CUT DECALS
If you have a long run, thermal die cutting is your best option. The cost difference is amortized over the quantity and you will save a lot of time—a lot. In the end, thermal die cutting will save you both money and time for large quantities. In addition to the cost benefits for long runs, thermal die cut decals also produce finely detailed designs from the custom die; and can be screen printed with multiple spot colors. Even the production time is stepped up with the capability to cut full-size (14" x 28") sheets every 10-15 seconds!
THE BENEFITS OF PLOTTER CUT DECALS
Plotter cutting is a great alternative for low quantities because it uses a digital file rather than a die. In the short run, you'll save by not having a custom magnesium die made if you only need a handful of decals. Plotter cuts are also perfect for prototypes before going into large production with thermal die cutting. Lastly, you can make really, really big vinyl decals using a plotter. One of our largest to date was for a water tower 52" wide by a whopping 144" tall!
THE PROS & CONS SUMMED UP
- Large Run: Thermal Die Cut
- Screen Printed Spot-Color Graphics: Thermal Die Cut
- Need Like Yesterday: Thermal Die Cut
- Short Run: Plotter Cut
- Prototype: Plotter Cut
- Extra Large Decal: Plotter Cut
HOW TO APPLY THERMAL DIE CUT DECALS
Although these are the directions for application of a thermal die cut decal, they also apply to plotter cut decals.
- Clean Glass
- Nothing's gonna stick till you get it sparkly clean. Hold the decal at one corner and separate paper liner from application tape.
- Take Off Liner
- Continue slowly removing the paper liner from decal/application tape and discard.
- Apply Decal
- Holding decal with both hands (on sides of decal) position decal on glass. Rub firmly, starting in the center and working your way out in all directions. Smooth out any air bubbles.
- Remove Application Tape
- Peel back the application tape back at 180°, like you're "rolling" the tape off the decal, rather than lifting it off.
If you have any questions about Thermal Die Cut Decals or Plotter Cut Vinyl Decals, give us a call, email us, fill out our quote form, send up a bat signal, or stop in and see us! We'll answer your questions, take a look at your artwork, let you know which method would work best for you, and give you a free quote while we're at it.
Privacy Policy & Terms of Use | Site Map
FREE QUOTE